 Image 1 of 4
 Image 2 of 4
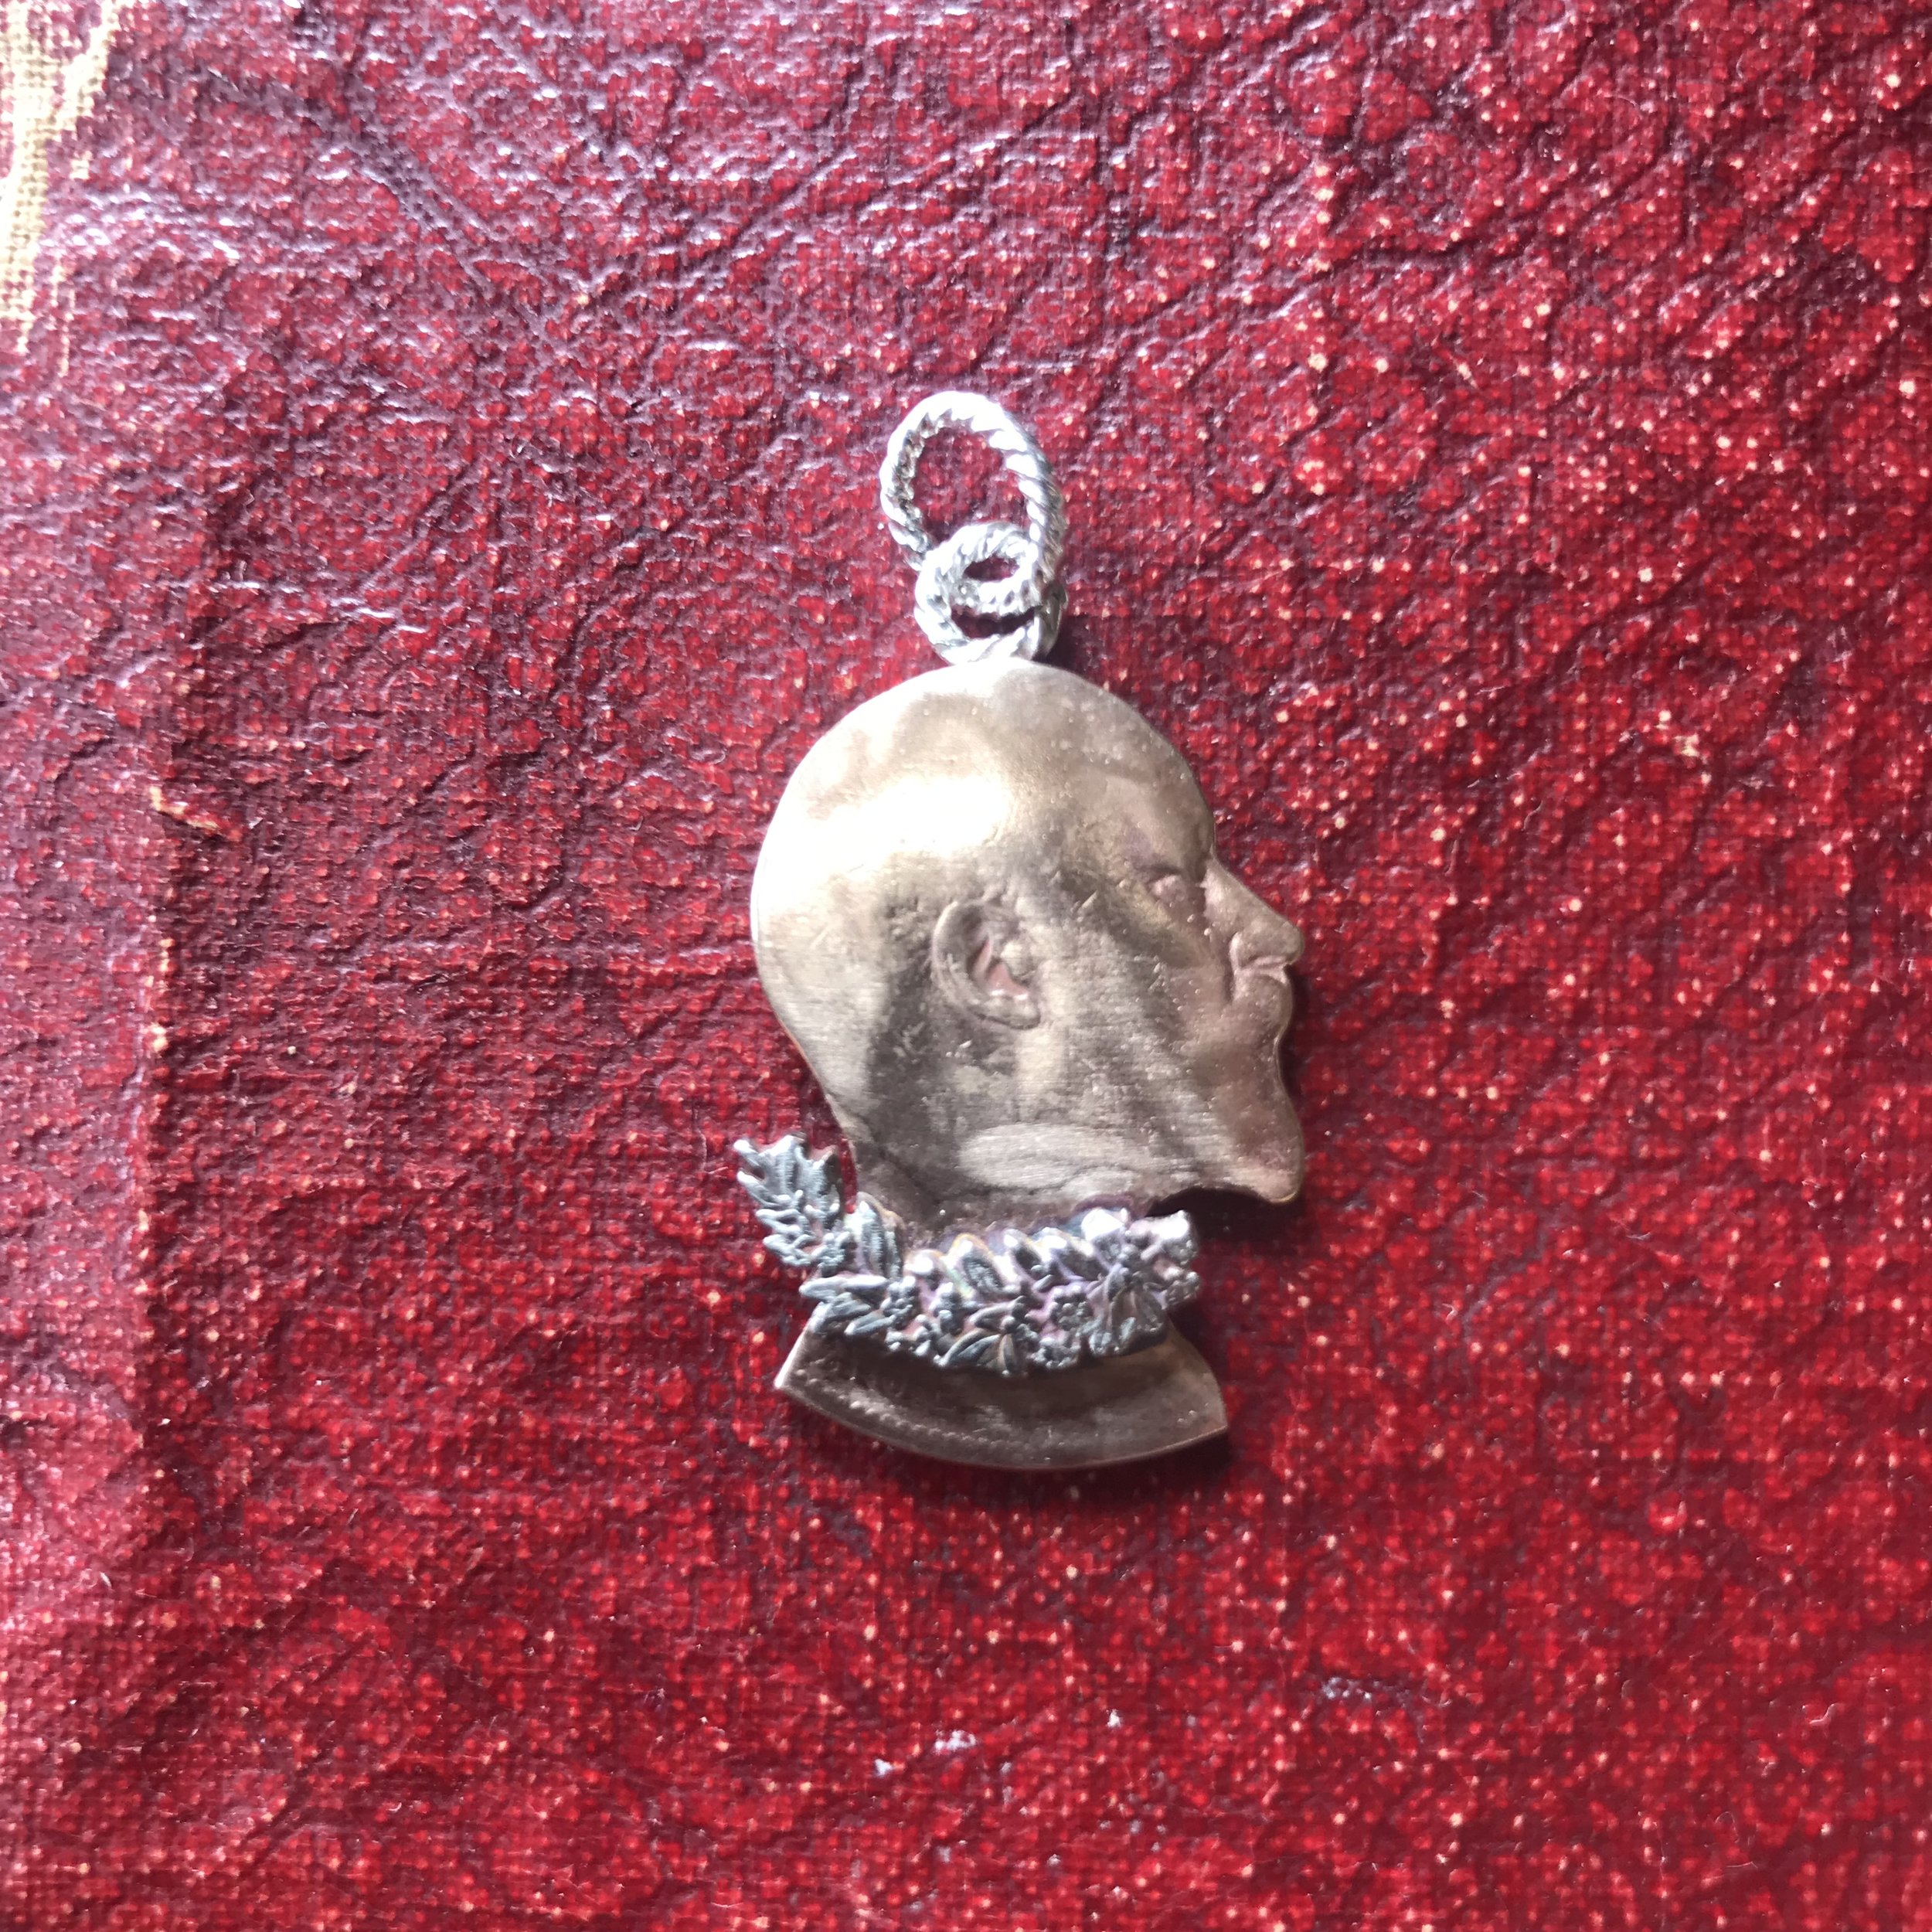 Image 3 of 4
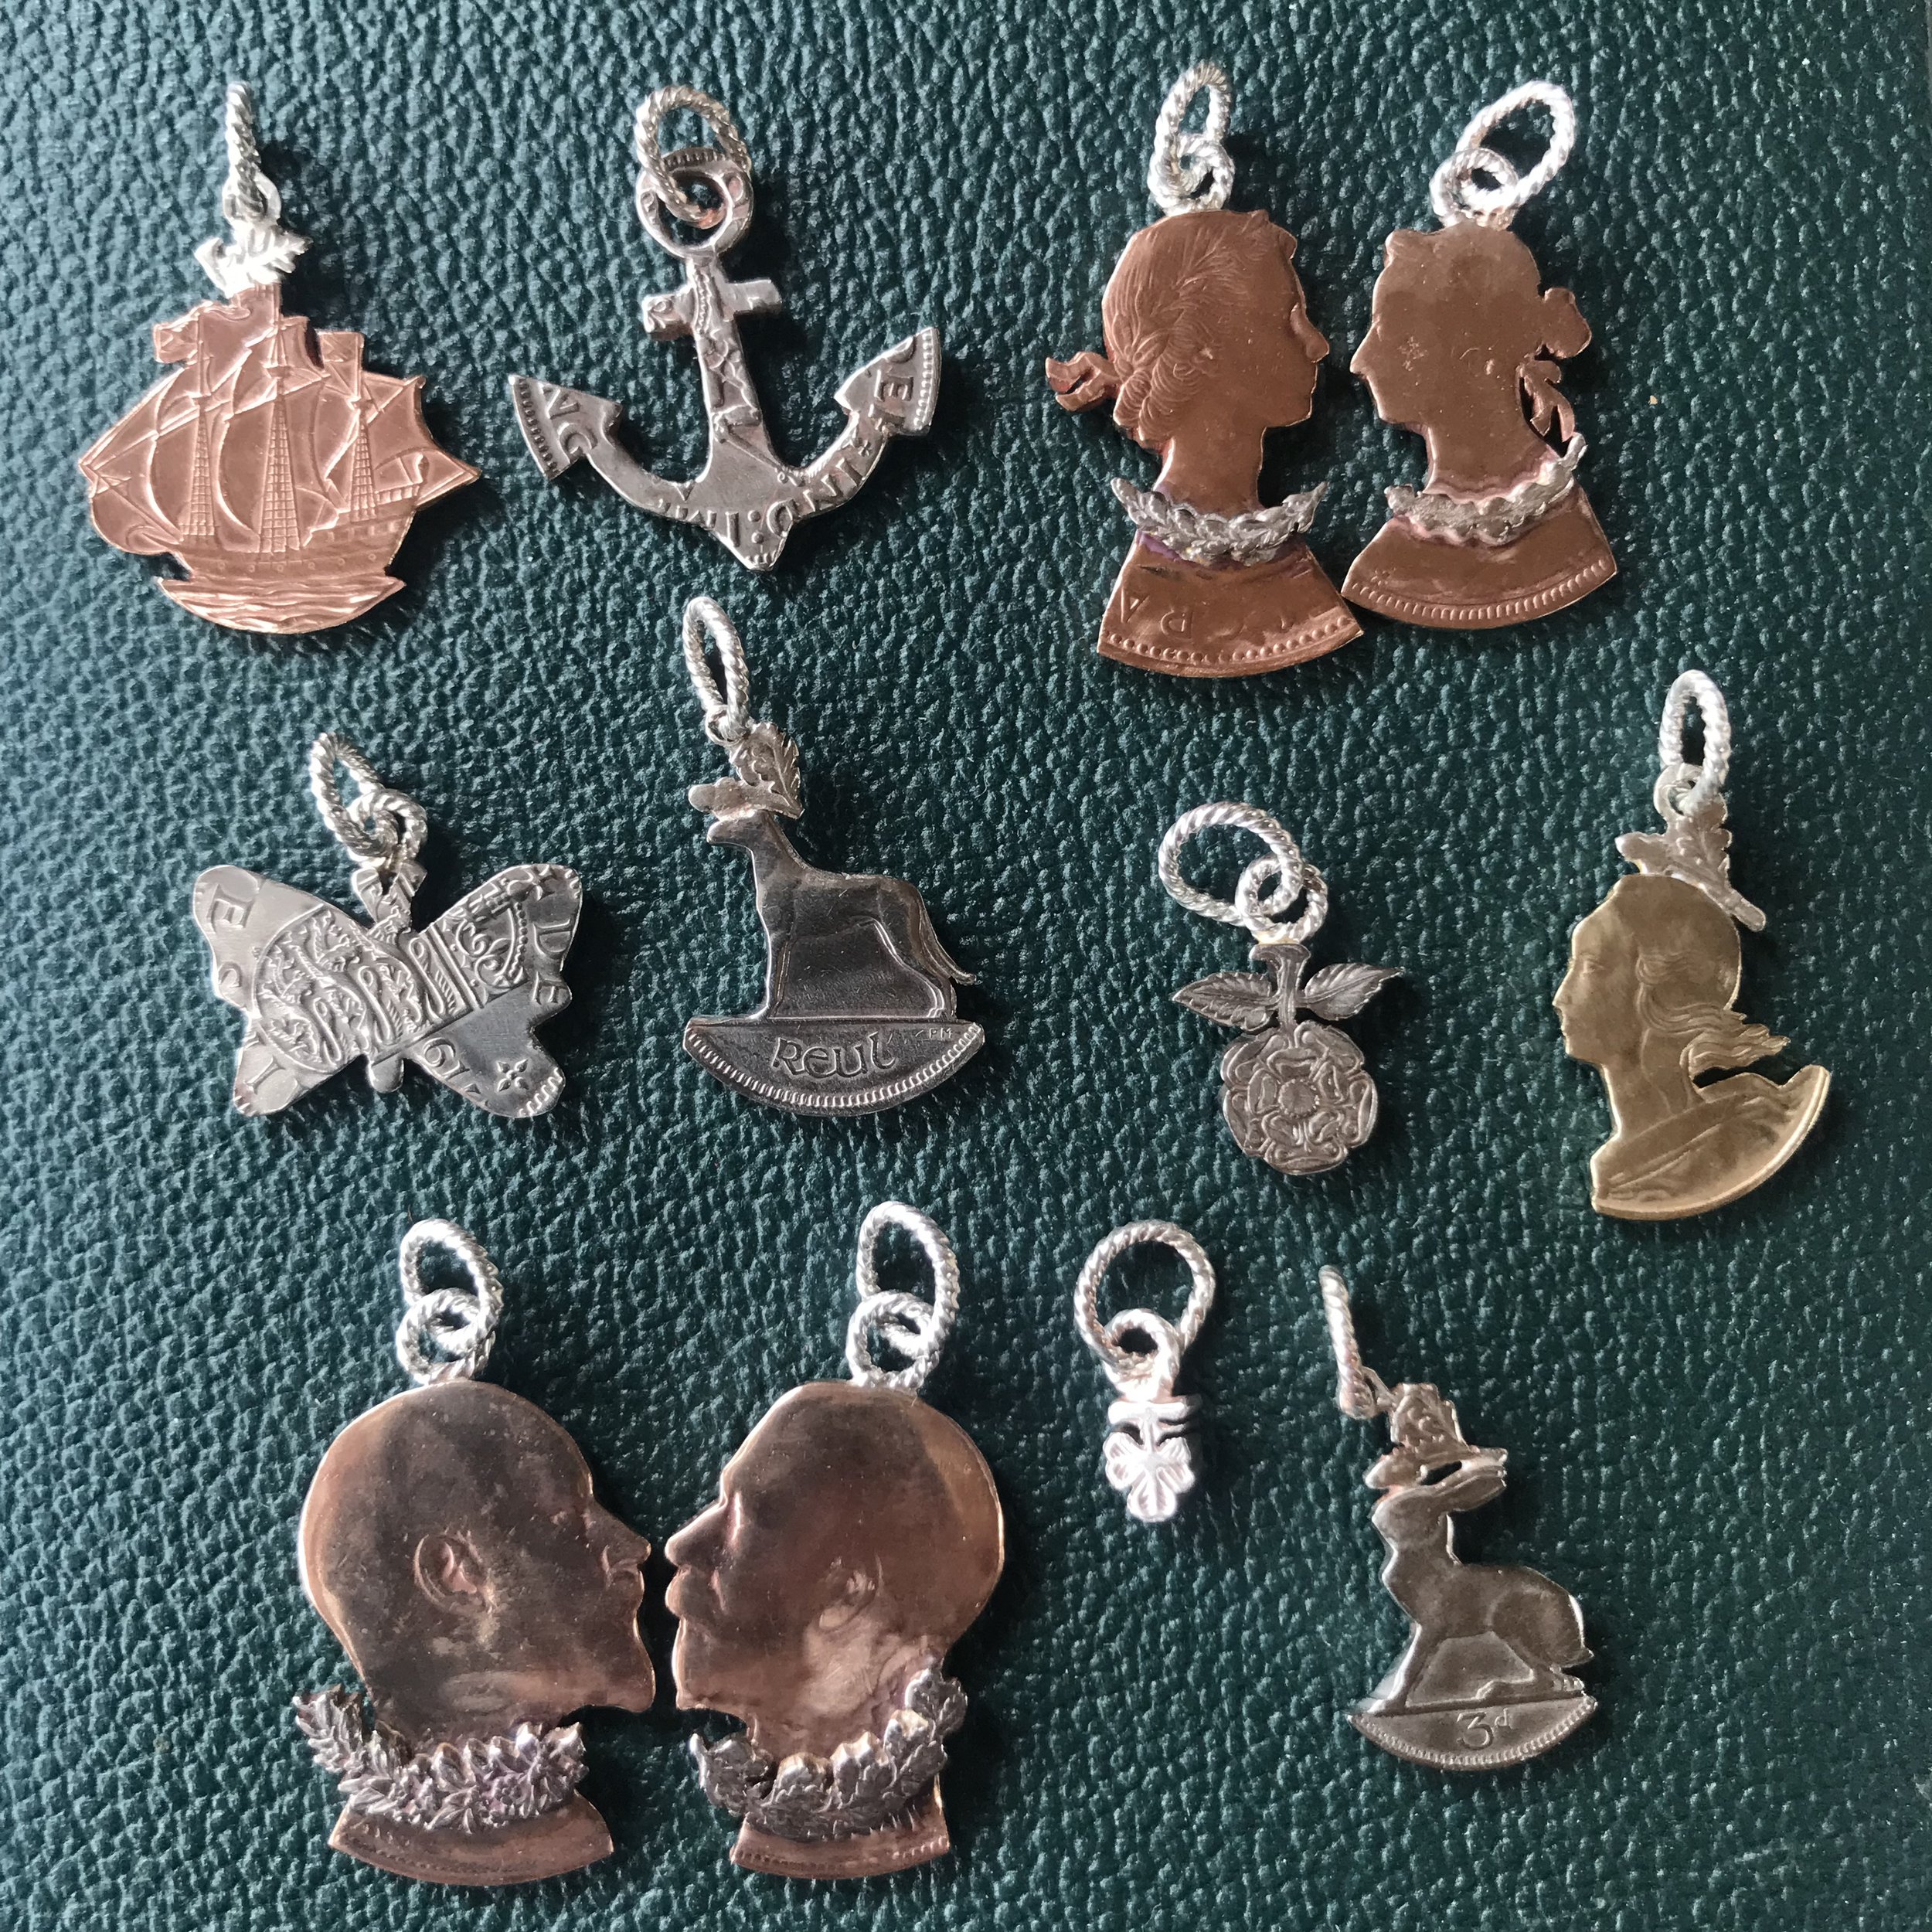 Image 4 of 4
King Edward the 7th with a Swiss oak leaf ruff combined to make a beautiful charm on a large twisted silver jump ring.
Materials: Sterling Silver, copper & mixed alloys.
Fittings: Sterling Silver twisted wire closed jump ring - 1/2cm internal diameter.
Dimensions: Length 3cm. Width 2cm.
The jewellery comes presented in a box I hand draw, recording the history of the coins used to make the piece. *Dates may change from photo shown.